

You might be wondering… why take the time to bake a bar when there are a zillion packaged bars out there?
For starters (and obvious to some of you who like to do #homemade), it tastes better. Secondly, you can opt to modify with a few personal touches to make it more appealing to your palate.
But for a banana-based bar, you also get to use up some of those seriously spotty-brown bananas that are delving into the category of “way past done”. An important additional benefit, especially as of late, is that making your own bars are way less expensive than buying most any decent store-bought bar (dang - some of those bars are well over $3.00 a pop).
I often freeze these brown mushy bananas (with the peel off) for later use in a smoothie, but it was one of those days where I was in need of Baking Therapy. Anybody relate?
This bar features healthy fats, no added sugars, a good ratio of carbohydrate to protein (better for stabilizing blood sugar and providing satiety), and a “fresh” texture compared to packaged bars. It can easily be made vegan for those who need.
I adapted the recipe from Fit Mitten Kitchen, although I decided to make only a few slight changes to the original version for this first go around.
This is an easy to follow recipe and it’s a keeper!
Ingredients:
1 Tbsp (6.5 gm) ground flax
2 bananas
1/2 c (128 gm) natural nut butter (I used organic salted crunchy peanut butter)
1 tsp (5 ml) pure vanilla extract
2-4 Tbsp (30-60 ml) unsweetened milk of choice (I used almond milk)
1/3 c (40 gm) oat flour
1/3 c (40 gm) almond flour
1/3 c (33 gm) protein powder of choice (I used Thorne vanilla whey isolate, which yielded ~25 gm of protein)
1/2 tsp (1.5 gm) ground cinnamon
1/2 tsp (or dash of) coarse salt
1/2 c (55 gm) chopped raw walnuts (or pecans or almonds)
1/4 c (15 gm) flaked unsweetened coconut
Preparation Steps:
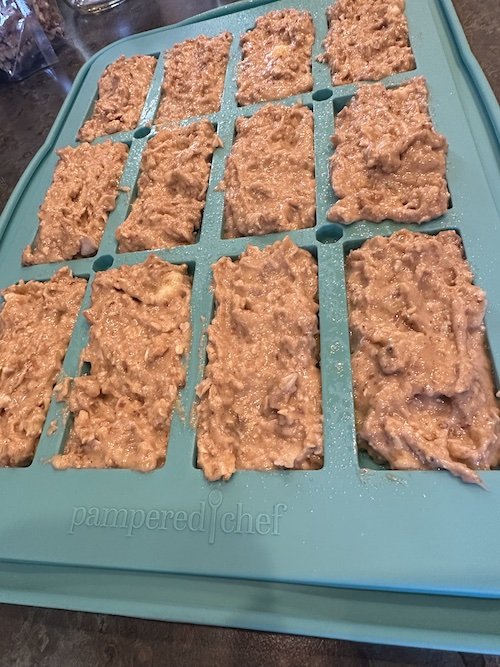
Heat oven to 350F. Line an 8×8 baking pan with parchment paper, or use an 8×8 silicone pan or a bar pan. I had purchased this silicone bar pan from Pampered Chef a while back and had not used it yet, so it was perfect to try out for this recipe. I did opt to give it a light oil spray since I’ve not used silicone much in my previous baking experience.
In a small bowl, mix 1 Tbsp of flaxmeal with 3 Tbsp of water and let it sit for at least 3-5 minutes to thicken. This is your “egg” for the recipe.
In a medium-sized mixing bowl, mash the bananas with a fork. This should be close to 3/4 to 1 cup amount. Mix in the nut butter, vanilla extract, and flaxmeal, and stir until combined well.
Add into the wet mixture the oat flour, almond flour, protein powder, walnuts, coconut, cinnamon, and salt; combine well. Add 2 Tbsp of milk and stir until combined. The mixture should be thick, but not dry. You may need to add in another 1-2 Tbsp of milk depending on the protein powder you use. (I used 3 Tbsp of almond milk)
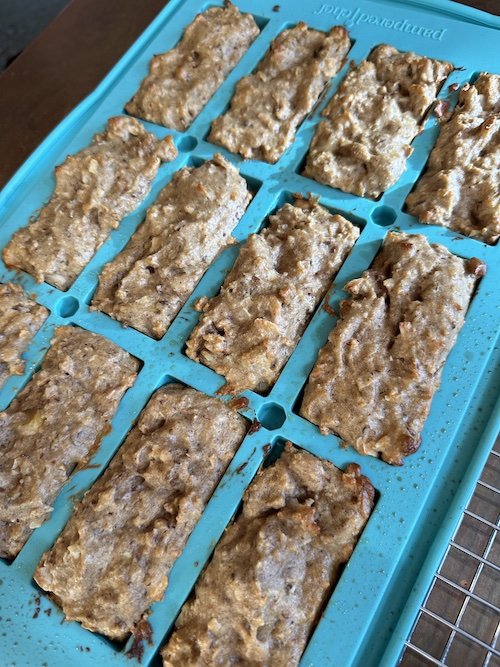
Spread batter into prepared pan or bar pan. Bake bars for about 20 minutes, or until edges lightly brown. Use a toothpick to insert into the middle of the pan or in one of the bars to start testing whether it needs longer baking time. My oven needed to work for about 30-35 minutes to get them firm and browned so just be sure to start checking them after about 15-20 minutes.
Once it’s done, remove from oven and let cool for 30 minutes before removing from the pan. If you used a baking pan, you can slice them into 12 bars and then store in an airtight container in the fridge, or freeze some for later grab ‘n’ go. The Pampered Chef bar pan worked great for pre-portioned bars and there was no stick whatsoever.
Basic nutrition info per bar (yield of 12 bars):
175 calories
12 gm carbohydrate
3 gm fiber
7 gm protein
11 gm fat
~1.7:1 ratio of carb to protein
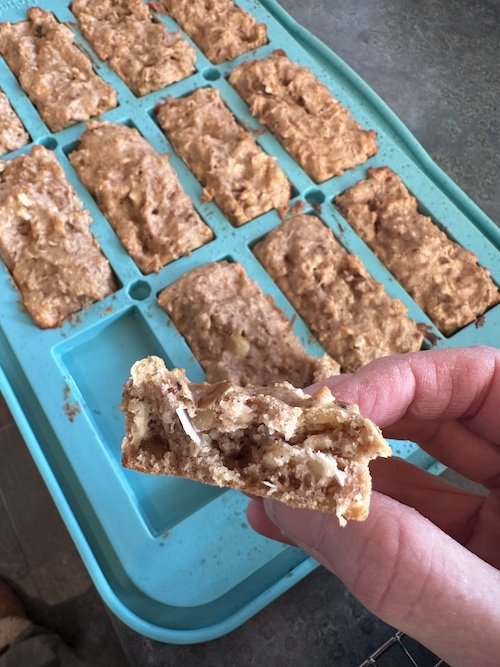
I will say that I was glad to use crunchy peanut butter as it added a nice ‘surprise’ crunch when nibbling. If you’re a banana and nut butter lover, I am betting you will love this concoction!
Let me know if you try it!
-Dina